在升级完openssh后几天排查一些其他的问题时,注意到了系统日志多了一些ssh登录失败日志,因为安装了fail2ban不应该突然多了那么多,一检查才发现fail2ban对于sshd日志过滤不生效;
其实对于centos7来说,本次CVE-2024-6387对yum安装的版本不受影响,为啥我要升级?那当然是之前的一个CVE,具体是哪个忘记了,对于没有固定IP不能使用白名单的个人用户而言,还是得升级的;
要注意:Centos7升级到最新版本的openssh,必须升级openssl,需要确定业务是否受影响,如果受影响,还是稳健的使用白名单功能吧。
排查思路
1.怀疑fail2ban进程异常退出
对于fail2ban工作不正常,第一反应就是fail2ban进程挂掉了,那么看一下进程systemctl status fail2ban;
● fail2ban.service - Fail2Ban Service Loaded: loaded (/usr/lib/systemd/system/fail2ban.service; disabled; vendor preset: disabled) Active: active (running) since Mon 2024-07-08 15:14:04 CST; 5h 6min ago Docs: man:fail2ban(1) Main PID: 30230 (fail2ban-server) Tasks: 9 Memory: 13.2M CGroup: /system.slice/fail2ban.service └─30230 /usr/bin/python3 /usr/local/bin/fail2ban-server -xf startJul 08 15:14:04 cnvito.top systemd[1]: Stopped Fail2Ban Service.Jul 08 15:14:04 cnvito.top systemd[1]: Starting Fail2Ban Service...Jul 08 15:14:05 cnvito.top systemd[1]: Started Fail2Ban Service.Jul 08 15:14:05 cnvito.top fail2ban-server[30230]: Server ready进程似乎没问题,那么重启服务看看?重启问题依旧。
接着修改/etc/fail2ban/fail2ban.conf的日志等级为DEBUG再看看,重启生效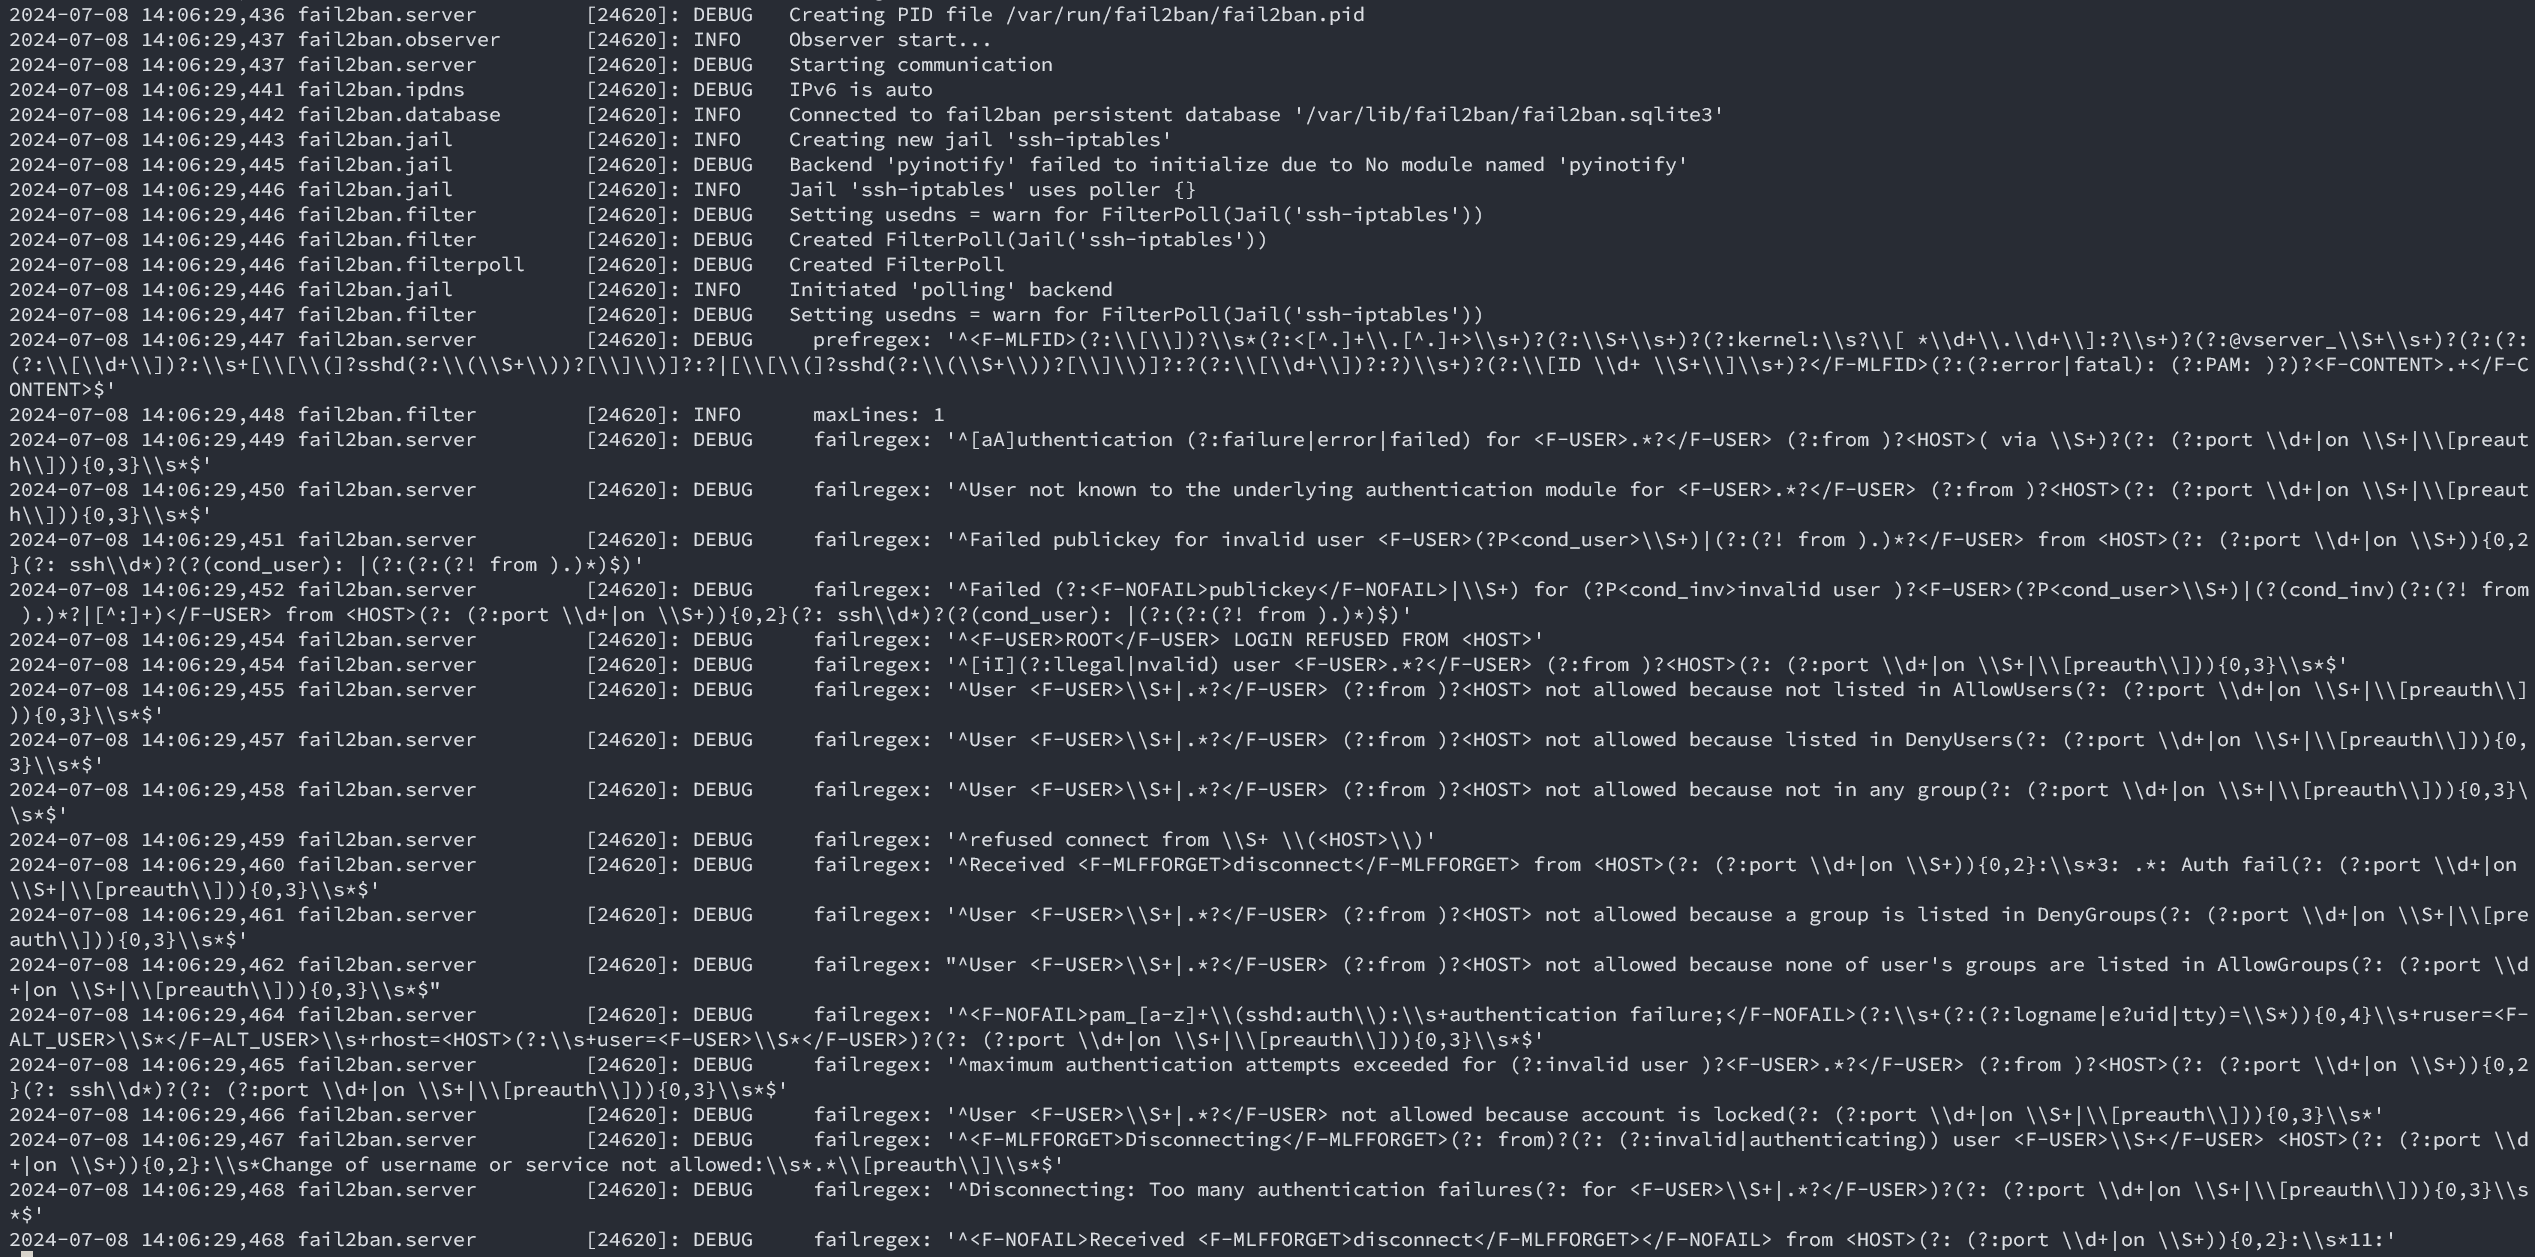
程序能够正常运行,也没有什么报错,那么尝试一下更新规则吧;既然都要更新规则了,顺便把fail2ban也升级为最新好了,用Python写的工具,更新也不会有什么其他太大的影响。
2.升级最新fail2ban版本
到fail2ban-github上下载最新版本;releases -> source code 一气呵成;
把原来的版本卸载
systemctl stop fail2ban && yum remove fail2ban*;在服务器上解压后安装
python3 setup.py install;注意默认centos7只有python2.7,最新版(1.1.0)有python>3.5的要求;安装完成尝试启动
systemctl start fail2ban && systemctl status fail2ban,哦豁报错ModuleNotFoundError: No module named 'fail2ban',一眼顶针,systemd识别的python3 PYTHONPATH有问题,加个环境变量试一下;
# /usr/lib/systemd/system/fail2ban.service[Service]Environment="PYTHONPATH=/usr/local/lib/python3.6/site-packages" # <-- 加的这个重新启动systemctl daemon-reload && systemctl restart fail2ban,OK启动没问题,但是问题依旧。
3.深入排查,问题解决
fail2ban实际上是读取日志,依赖正则表达式一通分析,得到是否被暴力破解的结论;那么问题应该还是出现在规则上,翻一下sshd的规则/etc/fail2ban/filter.d/sshd.conf;
我靠,这一大坨正则表达式看着就头大,好在官方有工具帮忙分析fail2ban-regex,不然一个个替换去试,人都要麻了;fail2ban-regex --help看一下怎么使
fail2ban-regex -v /var/log/secure sshd........Failregex: 0 total # 注意到这一行,啥也没匹配到,为什么呢?........- /var/log/secure 是日志路径
- sshd 是内置sshd匹配规则
- Failregex: 0 total 意味着没有登录失败的内容
刚好注意到有openssh升级前的轮询切割日志保存/var/log/secure-20240616;用同样的命令一对比发现同样的规则,旧日志有匹配到被爆破的内容,那么这里已经确定了openssh捣的鬼,再后来翻一下openssh的版本日志,确实9.8p1确实是修改了日志的字段;

对比一下/var/log/secure-20240616和/var/log/secure的区别,一眼看过去根本没区别,而且不能通过diff命令对比,毕竟是完全不同的文件内容,到这里就很头大了;
再翻一下github,也没有看到相关的issue;看看config/filter.d/sshd.conf,嗯?5 days ago,难道release包不是最新的?下载下来md5sum,diff一番,果然不一样,就变了一行;坑爹啊!
[DEFAULT]_daemon = sshd(?:-session)?测试
# _daemon = sshdfail2ban-regex 'Jul 7 04:14:46 cnvito sshd-session[8982]: Invalid user admin from 171.244.37.97 port 58998' sshdFailregex: 0 total6) [0] ^[iI](?:llegal|nvalid) user <F-USER>.*?</F-USER> (?:from )?<HOST>(?: (?:port \d+|on \S+|\[preauth\])){0,3}\s*$# _daemon = sshd(?:-session)?Failregex: 0 total6) [1] ^[iI](?:llegal|nvalid) user <F-USER>.*?</F-USER> (?:from )?<HOST>(?: (?:port \d+|on \S+|\[preauth\])){0,3}\s*$| 171.244.37.97 Sun Jul 07 04:14:46 2024 ####### <- 注意看这里有匹配到ip了OK,测试没问题了,修改一下对应的位置后重启fail2ban即可,systemctl restart fail2ban;
原来在openssh9.8p1里面管理Session的进程变成了sshd-session,日志也跟着修改了,看一下进程就大概明白了;
ps -ef | grep [s]shdroot 1120 1 0 Jul04 ? 00:00:17 sshd: /usr/sbin/sshd -D [listener] 0 of 10-100 startupsroot 20499 1120 0 20:11 ? 00:00:00 sshd-session: root [priv]root 20501 20499 0 20:11 ? 00:00:00 sshd-session: root@pts/0给我们分配tty的进程是sshd-session
grafana-loki
如果你跟我一样把登录日志收集到Loki,用Grafana id=17514(SSH LOGS)这个模板展示数据,那么你会发现这里也获取不到数据了,其实原理也是一样的;
编辑JSON模型批量替换就可以了,具体就是|=\"sshd[\"
改成这样|~`sshd(?:-session)?\\[`